Why did I
pit these two together?? In 2017 ??
Both are CCD
sensors, both are 6 megapixel and both came around more or less at the same
time. Now read on:
Original Picture by James Bamford: https://www.flickr.com/photos/jimbobuk/101871650/

I sometimes
wonder if people are inherently crazy or if the collective human intelligence
is diminishing due to all the GMO food, chemicals in water and air. Why am I
saying that?
Apparently we cannot ascertain the value of things with an aware
mind. I came to this conclusion after reading about the Epson RD-1 series
cameras and their exorbitant used prices on eBay. Too much ?
I first heard
about this camera from a book written by Zack arias, Photography Q&A: Real Questions. Real Answers, which I had
ordered from Amazon. Recently going through some website I came across this
camera again. I went to ebay to check the prices and was shocked to see the
average price of $1000 for the earlier models and $2000 for later models. Seriously??
For a 6 megapixel camera that came in 2004? You might as well get the Leica M8
or M9 for that many dollars.
Original picture by Oliver Korbl : https://www.flickr.com/photos/okorbl/8728758558/

The RD-1 had quite a few iterations in the coming
years like the R-D1s, R-D1x, and R-D1xG. According to Wikipedia the camera uses
the same interline-transfer Sony CCD (Sony ICX413AQ) sensor as the Nikon D100 and
Pentax *ist D, which was originally developed in 2002. However the excellent sensor of the D70s
contrary popular belief, even though with the same megapixel count, is a
different version (Sony ICX453AQ).

Shot with a Nikon D100
Officially
Seiko Epson stopped making it after 2007, but unofficially some “collector”
cameras were available new until as recently as 2014. This is an age old “going
out of business” sales trick. The Indian government owned HMT watches uses the
same trick today to sell their watches. The trick involves announcing that a
company is winding up and selling off their stock at a discount. People flog to
the shops hoping to own something brand new that will cease to exist and at a
discount, sometimes there is no discount but people buy it anyway, just for the
thrill of owning it.
Original Picture by Michael Khan : https://www.flickr.com/photos/goforlaunch/25988852906/

Shot with a Nikon D100
Buying a
camera just because it has fancy meters and dials is probably not a sound
photographic practice. It makes you almost a fetishist. It’s not the camera buttons
and dials, but the image quality that needs to be the bench mark for any camera
purchase. Well that may be subjective, but I am sure you will not disagree if I
say 6 megapixels is too less in 2017. Ofcourse if you are buying it for
nostalgia, then it’s a different story. This camera does not justify any Leica
or ZM lens on it because the sensor and its algorithms are too ancient to
deliver anything worthy.
Original picture by Michael Khan : https://www.flickr.com/photos/goforlaunch/25752860013/

Shot with a Nikon D100
There are
far better cheaper cameras which came around the same period as the RD1 like
the Nikon D100, Nikon D70s, Minolta Maxxum 5D & 7D etc. Why I am I
referencing these cameras here, now ?? They all came more or less at the same
time and all of them are 6 megapixel CCD sensors. I
personally own a D70s and this camera doesn’t stop amazing me with its colour
depth, rendition and tonal graduations, inspite of its meager 6 megapixel
sensor. If given a choice between a D70s
and a D100 I will go with the latter as it has a full magnesium alloy body and
can take a beating. This is a fun camera in 2017 for casual fun pictures of
family etc, cannot be used professionally because of its meagre 6 megapixel
sensor, still that's plenty for a home camera or a testing camera for main
shoots for pros.
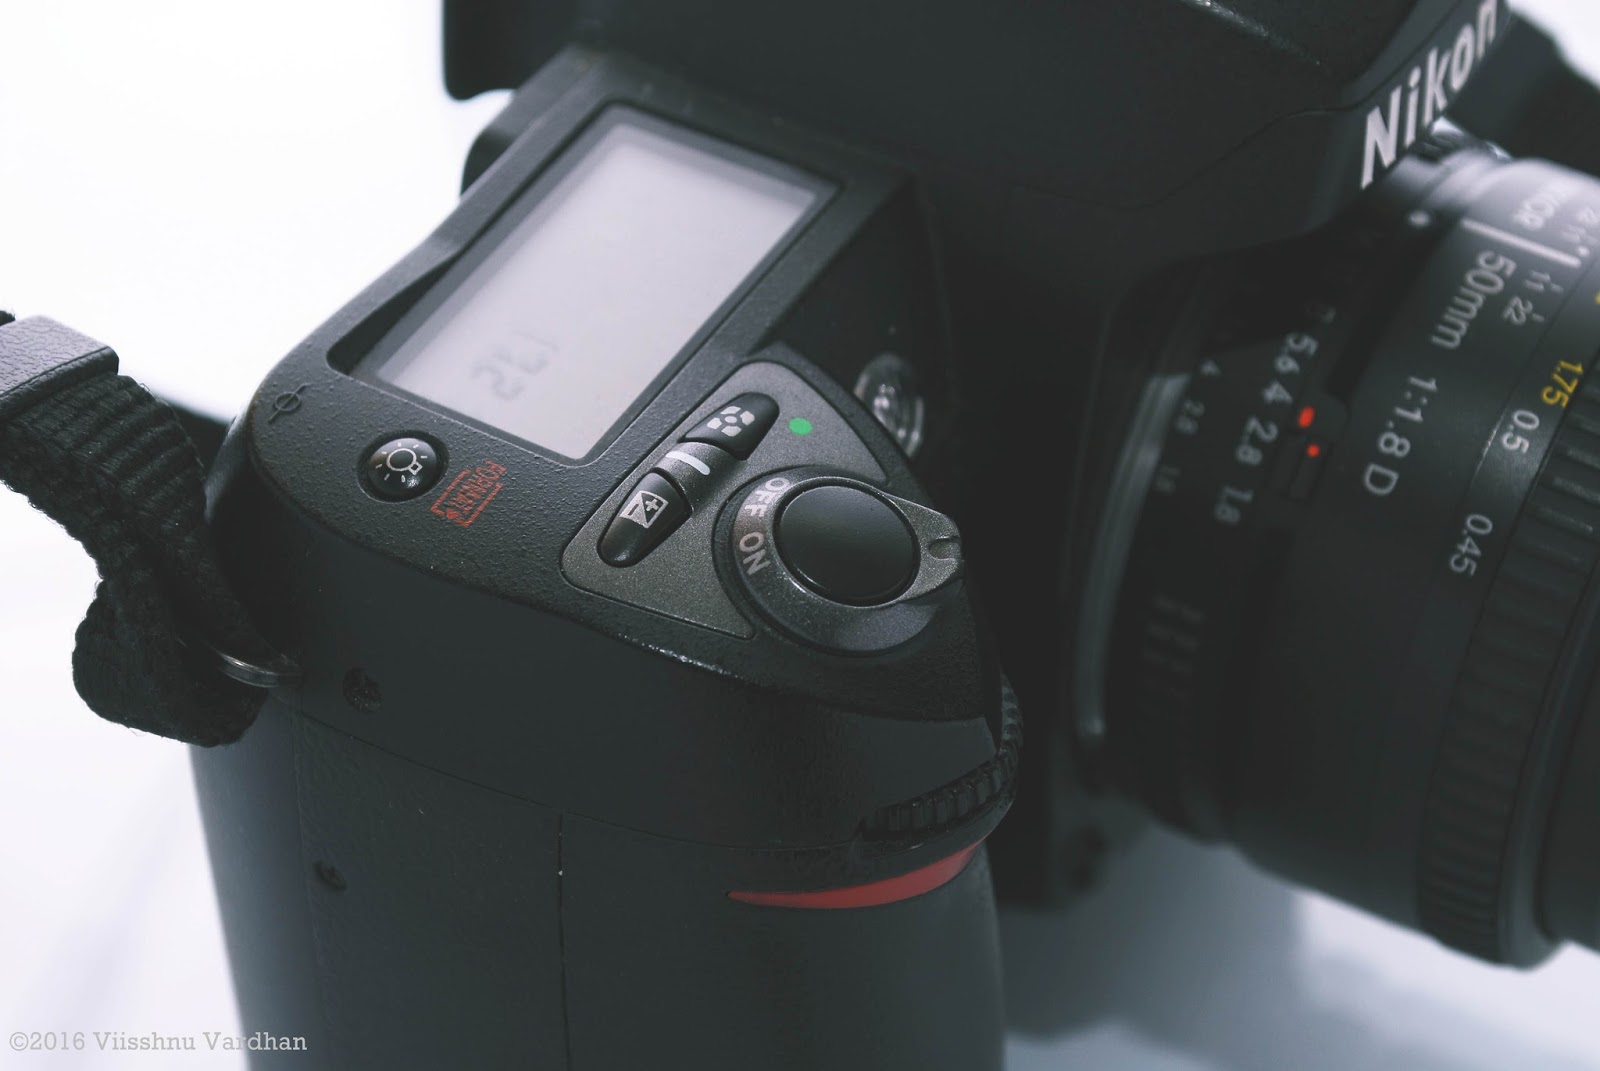
Original Picture by me-Viisshnu Vardhan:https://www.flickr.com/photos/13638324@N06/22749543172/in/dateposted-public/

Shot with a Nikon D70s.
Trust me
when I tell you the D70s is atleast 10 times better than the Epson RD1. If you
want a strong magnesium body like the RD1 you can choose the D100 as it’s the cheapest
pro DSLR available on eBay today. There are also tons and tons of cheap Nikon
lenses that will easily resolve 6 megapixels worth of information. Remember the
D100 is also a 6 megapixel camera like the Epson RD1 and they are in fact the
same sensor.
Listen to me;
make better use of your money. Put it in a bank or buy something for your
children.
Cheers and
happy clicking!